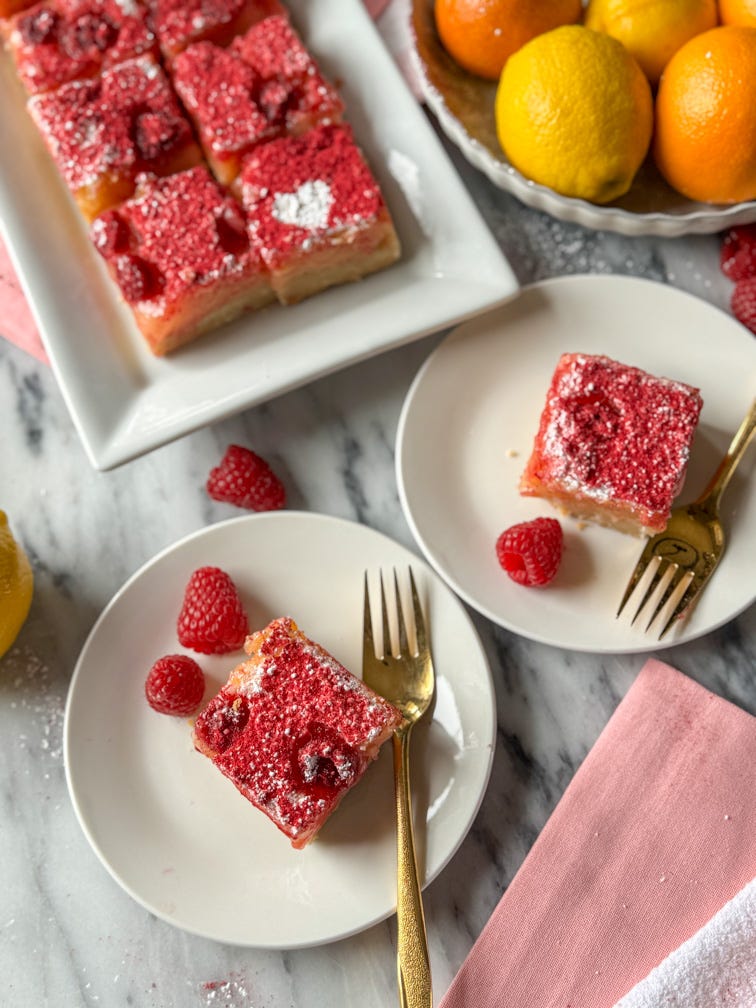
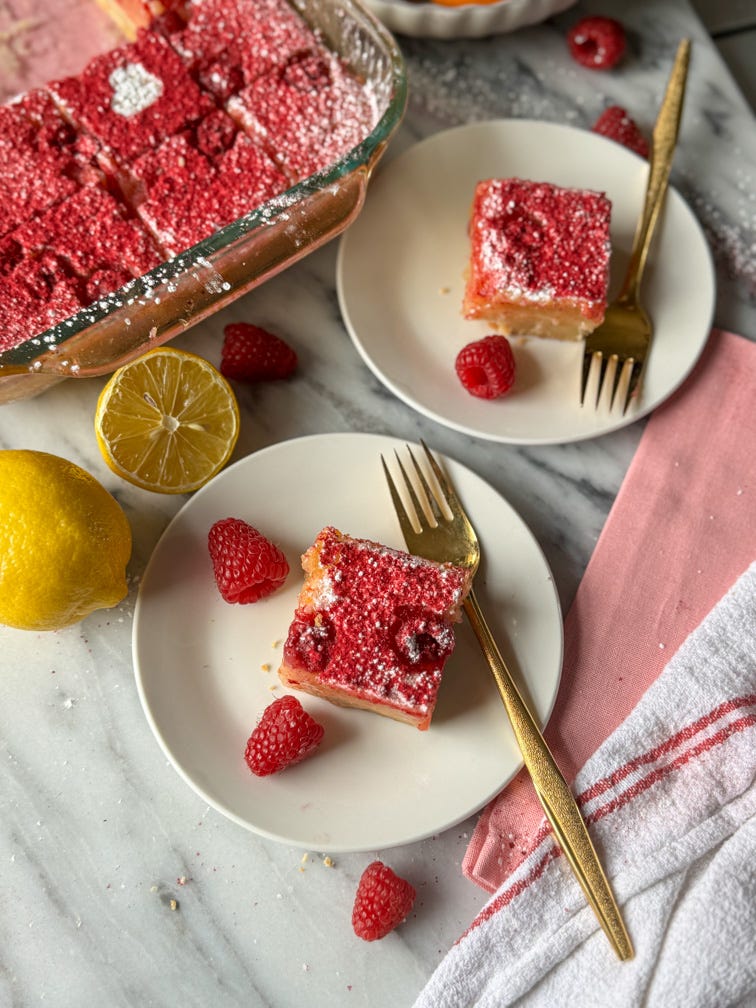
Raspberry Ginger Lemon Bars
A gorgeous blend of citrus combined with the zing of ginger is perfection on a buttery shortbread crust

I love ginger with citrus. Fresh ginger that is. Ginger, lemons, limes—they all have a certain brand of zing that complements each other so well.
I call these “lemon bars” because that’s the main citrus note. For all intents and purposes, they taste like lemon. However, they have a beautiful depth thanks to a balanced blend of lemon, lime, and orange. You have the extra sassy, bitter lime and the extra sweet orange that help round out the sour lemon. Thanks to the fresh ginger, these bars have an innocent and addictive little burn that’s a surprise at first, and then makes my brain say “Dang, I want more!” They’re quite literally chef’s kiss.
This is my adaptation of a Martha Stewart recipe. God bless one of our queens (Ina Garten’s the another) but lord, is she fussy. I know, I know, I’m one to talk. But after making her Citrus Bar recipe for the first time eons ago, I decided it’s a keeper but in need of simplification. For one, it makes a huge batch in a slightly less common pan size. It also uses a a hefty quantity of ingredients (A WHOLE POUND OF BUTTER). My version simplifies where we can. Instead of a bigger pan size, we’re using a common 13x9, which also means we can use a glass pan, which is better for the acidic citrus. Which means we can scale down the crust, so my version uses 3 sticks of butter instead of 4 (hey, every little bit helps!). Instead of 8 eggs, we use 6. Instead of wheat germ in the crust for texture, we use almond flour. Martha’s recipe does not include ginger, that’s all me. Same for the raspberries. I just love the bright pop of color they add. 💕
With citrus season in full swing, it’s the perfect time to scoop up some fruit to cure the winter blahs. Let’s get to the goods, shall we?
NOTES BEFORE THE RECIPE:
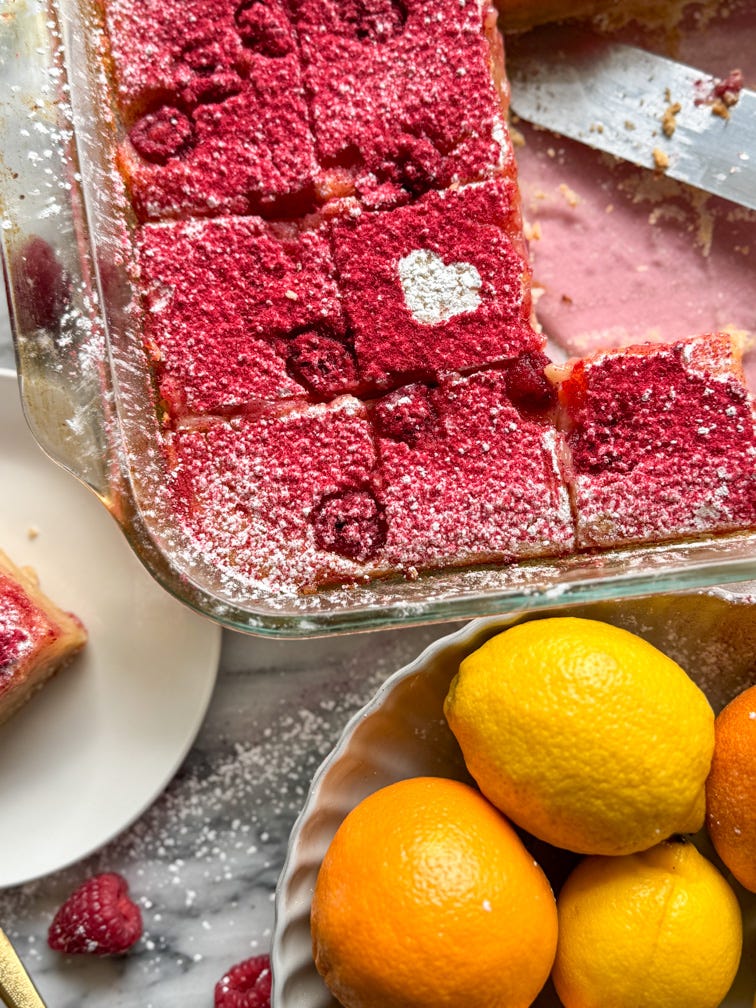
Use a glass pan. The acidic citrus can react with metal, particularly aluminum. This can cause the metal to break down and metal ions to leech into the food. Yikes. For this reason, also use a mixing bowl that is not metal.
DO NOT LINE THE PAN WITH PARCHMENT. This is something I’ve learned the hard way. Twice, because I didn’t quite believe it the first time. Perhaps some of you have had luck with this, but every time I use parchment, the liquid filling seeps beneath it and you end up with unusable lemon bars. The filling’s on the bottom, parchment’s in the middle, and the crust is on top. It’s not good, so just trust me on this. This is another reason why a glass pan wins, b/c you can cut into your bars without worrying about scratches.
This crust can come together in a food processor (my preference). You could also mix it by hand w/ a pastry cutter, or even your fingers/hands. The food processor method is the fastest option and keeps the butter the coldest. If you use your hands, chill the crust for 10-15 minutes so the butter can get cold again.
If you’re wanting to prepare some of this ahead of time to make life easier, I recommend zesting and squeezing your citrus beforehand. It can be kept in the fridge (stored together in the same container) for a few days. If you do this, the lemon bars will come together so quickly when it’s time to actually make them.
On that same note, you could make the crust a day ahead as well. Make sure you keep it air tight. A glass pan with a lid is clutch for this.
When I filmed this, I used blood oranges. That’s why my citrus goo looks a little pink-ish. They were great for color but didn’t affect the flavor much so I’m writing the recipe for plain oranges. I realize we’re in citrus season (maybe coming out of it?) so if you can find blood oranges and want to use them, power to you. If not, navel oranges are excellent for this and your results will be great. If you want to spend a few extra bucks, sumo oranges are amazing for juicing and would probably also be wonderful.
A tip on choosing your citrus if you don’t frequently zest it: a smooth and shiny outer will yield less zest, if you can even zest it at all. Citrus that’s matte and rougher/more craggy on the outside will zest better.
Fresh ginger is… irreplaceable, I would say. You could sub in powdered, but it just won’t have the zippity zing that fresh ginger has. Of course if you DON’T want the spice, then leave it out. That’s ok. But if you’re wanting the zing of the ginger + citrus that this recipe intends, fresh is the way to go.
For fresh ginger, I keep it in the freezer all the time and grate off what I need whenever I need it. I used to peel it, but I don’t bother anymore, it doesn’t make any difference. I use my Microplane zester (aka rasp) for this. Easy peasy, lemon squeezy.
RASPBERRY GINGER LEMON BARS
Yield: 1 - 9x13 pan, approx 24 pieces
Equipment: Food processor (optional), 9x13 glass pan, citrus zesting tool such as a Microplane rasp, citrus squeezer, sifter, typical mixing and measuring tools
SHORTBREAD CRUST
2 1/2 c AP flour
1/2 c almond flour
Alternately, if you don’t want to use almond flour you could use 3 cup AP flour for the dry ingredients here and leave out the almond flour
1/3 c confectioners sugar
1/2 tsp kosher salt
3 sticks (1 1/2) cups COLD butter
Note: This crust can come together in a food processor (my preference) or blending the butter in by hand w/ a pastry cutter or even your fingers. The food processor method is the fastest option and keeps the butter the coldest. If you use your hands, chill the crust before baking for 10-15 minutes so the butter can get cold again.
Preheat oven to 350°. Prepare a 9” x 13” pan with butter and/or non-stick spray. I prefer glass for this, as it does not react with the citric acid or influence any taste.
Whisk together the AP flour, almond flour (if using), confectioners sugar, and salt. Note, if you plan on using a food processor, you can use a medium bowl here. If you plan to blend the butter in by hand, use a large bowl. Next, cut the butter into 1 inch sized pieces and add slowly to the dry, making sure to incorporate well. Blend until the butter is “pea-sized.” In the food processor, mix or pulse until the dough can clearly come together into a ball.
Press crust mixture into pan evenly. DO NOT use parchment here (see warning in the Notes section). If you want a nice smooth crust, I find using a bench scraper, or other baking straight-edged tool, is a nice way to smooth it over.
Bake for 20-30 minutes, until golden.
FILLING
6 large eggs
3 cups granulated sugar
1/2 c + 1 TBSP AP flour
1 TBSP freshly grated lemon zest
1/2 c fresh squeezed lemon juice (about 5 small - medium lemons)
1/4 c + 2 TBSP Fresh squeezed lime juice (2-3 medium - large juicy limes)
1/2 c fresh squeezed orange juice
1 1/2 tsp fresh grated ginger
1/2 tsp kosher salt
1 - 2 handful of raspberries, about 1/2 cup - 1 cup (go w/ your preference here whether you want a lot or a little)
In a medium bowl, whisk together the eggs, sugar, and flour. Add the citrus juices, zest, and salt. Whisk again, make sure everything is combined well.
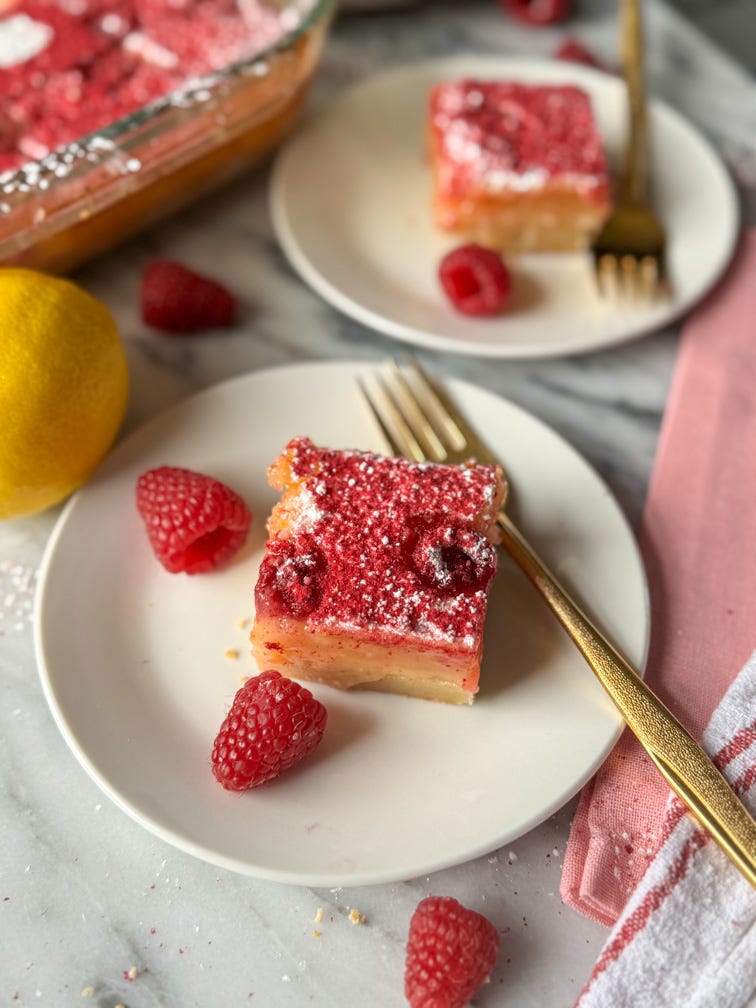
Pour over cooled crust. Drop in your raspberries and spread across the pan as desired. They may not be fully submerged depending on size.
Bake until center is set, about 30-40 minutes. Transfer to cooling rack until completely cool.
CLASSIC POWDERED TOP
1/2 c powdered sugar
1/4 - 1/2 c freeze-dried raspberries, ground to a powder - optional
If using freeze-dried raspberries, pulverize them, preferably in a small blender like a Nutri-bullet.
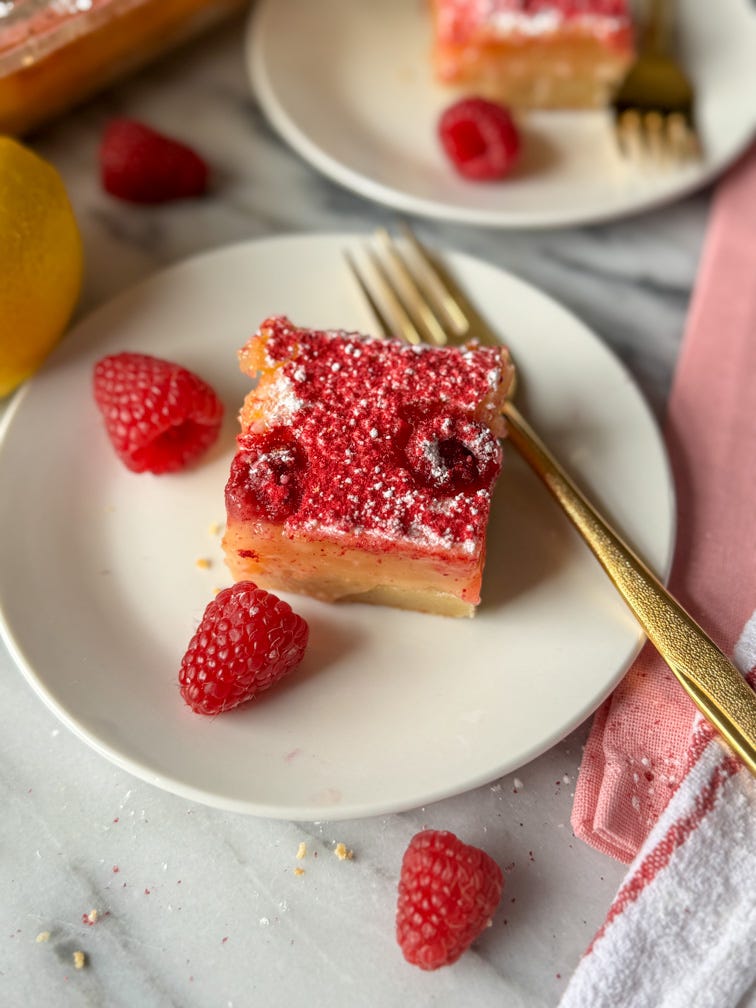
Using a small sieve, sifter, or powdered sugar shaker, sprinkle top of lemon bars with a solid coating of powdered sugar.
Using a sifter or small sieve, sprinkle the freeze-dried raspberry powder over the sugared lemon bars. You’ll want something that will let the powder through but strain the seeds out as your shake the berry dust on top.
Cut in bars. I was able to yield 24 bars from my batch, which I found to be a great size.
Alright my friends, that’s all she wrote for this one. Have a great rest of your weekend and enjoy something delicious!
XOXO,
Mary Lynn